So you finally got the recording features to work on your DreamBox, but you want more? 🙂
If you only want to view the MPEG livestream file (.ts) then use VLC player, which is the best player around.
But if you want to convert the .ts file to eg. Mpeg 2, or MPA/MPV format for later creation of DVD discs, read the following guides.
Guide 1 – Convert to .ts to Mpeg 2
Guide 2 – Convert from .ts to DVD
Guide 1 – Convert to .ts to Mpeg 2
- First you the download PVAStrumento at http://www.offeryn.de. This guide uses version 2.1.0.14.
- Next start PVAStrumento’s GUI version and chooce your .ts file. (get your .ts files from the DreamBox with eg. FTP
- Press “info” to confirm that PVAStrumento is able to read the stream, if successfull
you will get alot of info about the file in the right text box. - Press “make ps”.
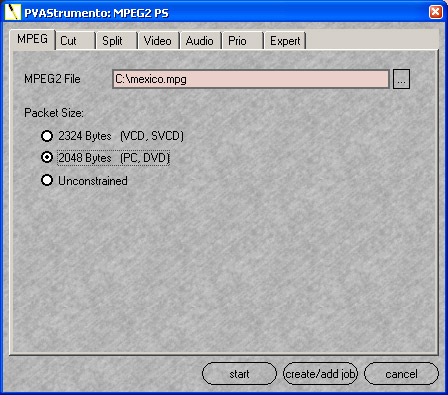
- First choose the location and filename of the Mpeg 2 file you want to create.
- Be sure to click on 2048 Bytes, to make a PC (and DVD) playable mpeg-file.
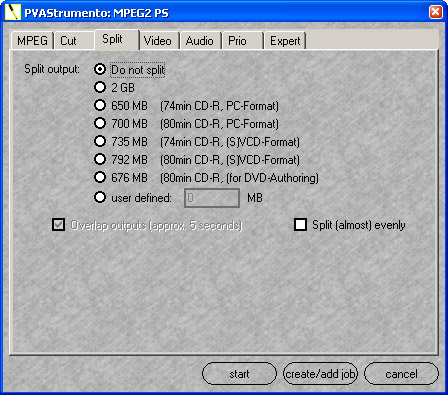
- Press on the “Split” tab.
- This parts is quite optional. If the target system is a Windows XP/2000 system, then choose “Do not split”.
- If you want to playback the file on a Linux system, choose 2 GB.
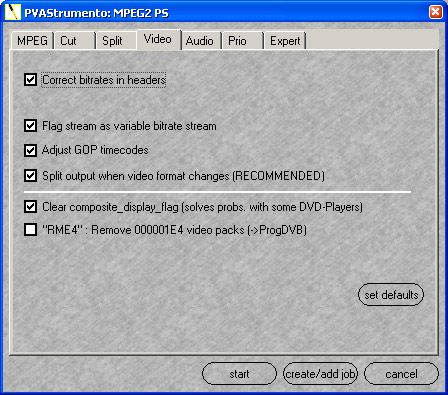
- Next press on the “Video” tab.
- Just use the default settings.
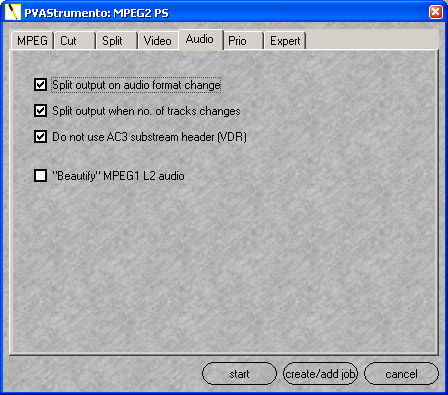
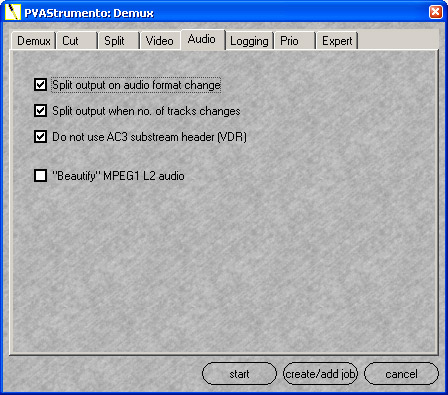
- Next press on the “Audio” tab.
- Just use the default settings.
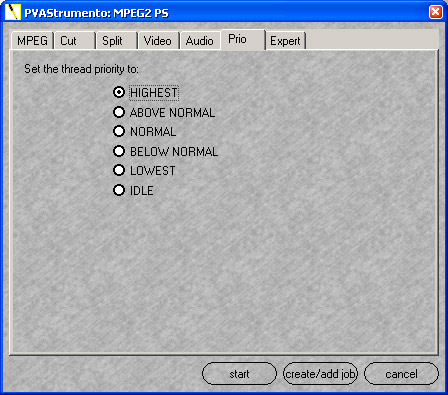
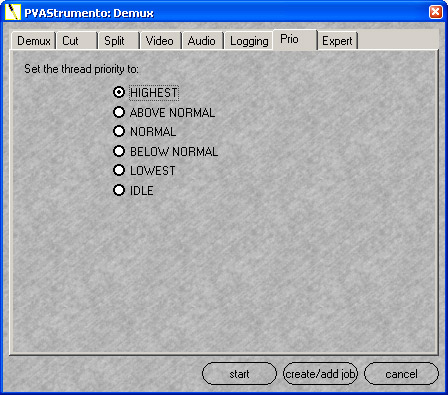
- Next press on the “Prio” tab.
- If your want to complete the convertion in a hurry, chooce “HIGHEST” here. (Best thing to do,
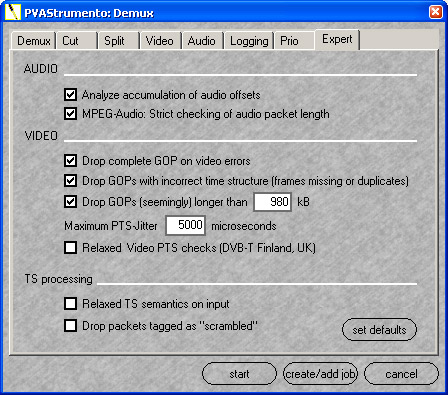
and then don’t use your computer during the processing) - Next press on the “Expert” tab.
- Again just use the default setting.
- Next press on the “start” tab. And the Mpeg 2 file is created!
Guide 2 – Convert from .ts to DVD
- Start PVAStrumento’s GUI version and chooce your .ts file.
- Press “info” to confirm that PVAStrumento is able to read the stream, if successfull you will get
alot of info about the file in the right text box.(eg. to verify that the stream if DVD compliant) - Press “demux”.
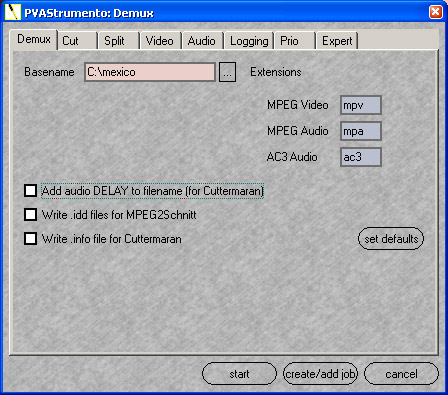
- First choose the location and filename of the mpv/mpa file you want to create.
- Remove the “Add audio DELAY….” flag. (You don’t need that)
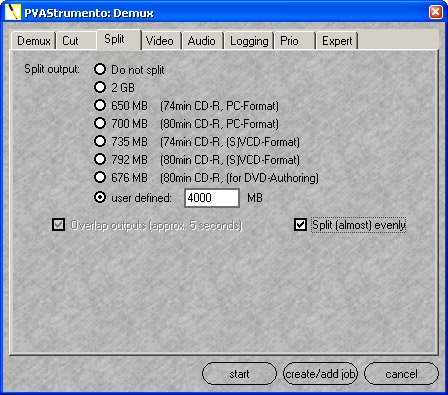
- Press on the “Split” tab.
- You want to create DVD’s with appr. 4 Gb each, so write 4000 mb in the “user defined” field. Click “Split (almost) evenly”.
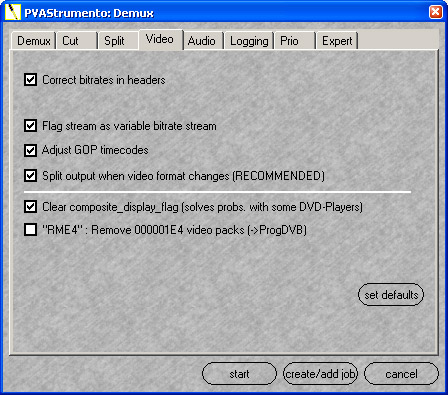
- Press on the “Video” tab.
- Use the default setting.
- Press on the “Audio” tab.
- Use the default setting.
- Press on the “Prio” tab.
- If your want to complete the convertion in a hurry, chooce “HIGHEST” here. (Best thing to do,
and then don’t use your computer during the processing.) - Next press on the “Expert” tab.
- Again just use the default setting.
- Press on the “start” tab. And the files are generated on the choosen location.

